Hello, Dessert Lovers I’m Nancy Foster. I’m excited to kick off my blog post! Today I want to share a delightful recipe, for crafting Cake Pops. Join me on this journey of treats.
Have you ever wondered how to create those Cake Pops? Well, you’re in for a treat! These charming homemade delicacies are a breeze to make and are great for any gathering or as a snack. All you need is some vanilla cake, frosting and sprinkles to whip up these confections.. The best part? You can customize the flavors to suit your taste!
Why spend bucks on fancy cake pops when you can easily whip them up at home with a handful of ingredients? I’ll walk you through each step with to following photos and tips so that you can soon create bakery-quality cake balls in no time.. Decorating them is a breeze. Makes for an enjoyable weekend activity especially if you have little ones joining in.
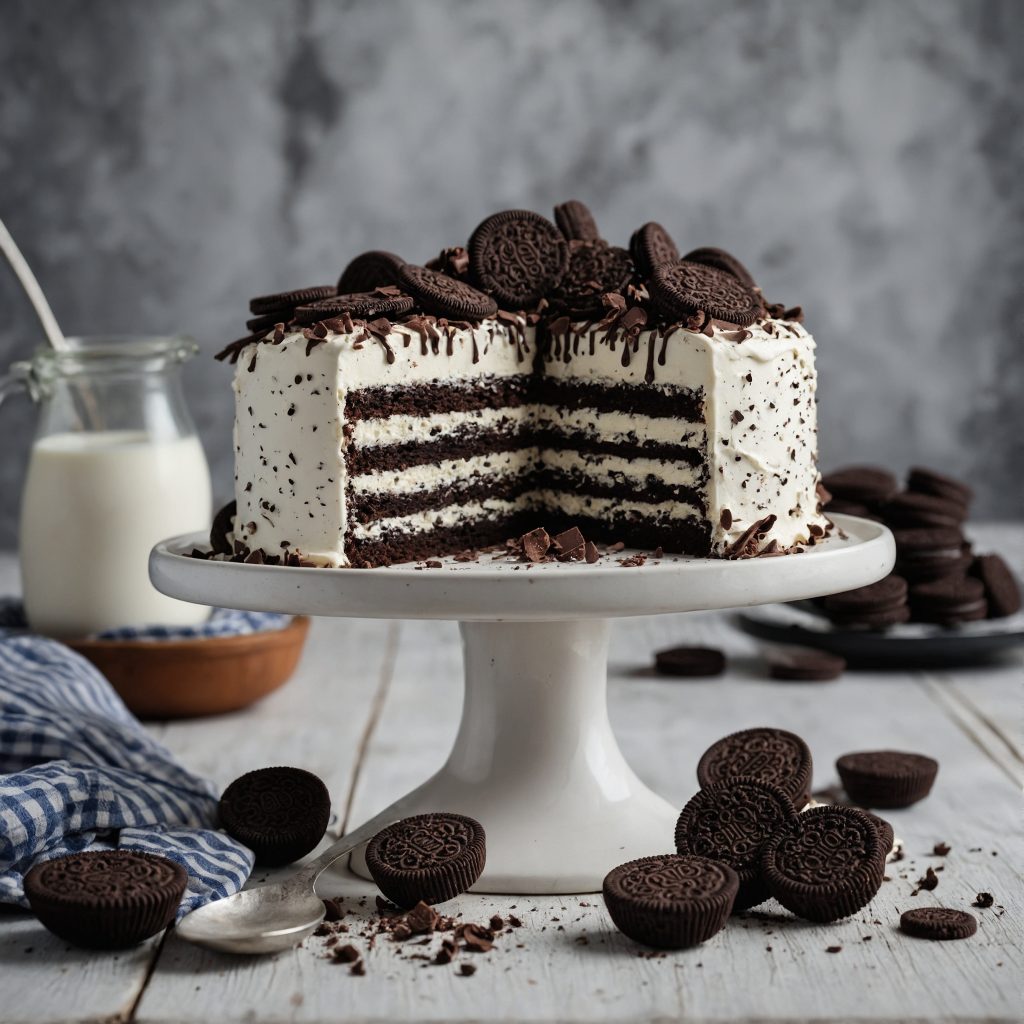
Cake pops are truly the scrumptious treats, around! Picture cake combined with frosting shaped into balls and coated in chocolate – doesn’t that sound amazing?
Course creating cake pops may appear challenging but believe me they’re surprisingly simple to make once you get the hang of it! Stay with me. I’ll reveal all my secrets and techniques to assist you in mastering those cake pops.
Lollipops Lookalike: What Is Cake Pops?
Cake Pops: Bite-Sized Delights on a Stick
You know those round, bite-sized treats on a stick that look like lollipops? Those are cake pops. They’re essentially cake balls (baked cake rolled into balls and coated in candy) but with a stick added for fun. While cake pops existed before, they became super popular in 2011 when Starbucks put them on their menu.
Cake pops are versatile little guys. You can enjoy them plain, but they often come coated in colorful sprinkles or decorated with icing. That’s what makes them eye-catching and irresistible! Perfect for satisfying your sweet tooth in a portable, no-mess way.
Why You’ll Love This Cake Pops Recipe?
- Super simple recipe, few ingredients, no baking!
- Bite-sized, portable – perfect for kids.
- Tastes like Starbucks’ version, skip the trip.
- Use up leftover cake, reduce waste.
- Fun weekend activity to do with kids.
- Get creative with flavors and decorations.
- Crowd-pleaser for parties and events.
- Great homemade gift idea.
- Can make them gluten-free.
- Try different flavors: chocolate, funfetti, etc.
- Mix it up with toppings and sprinkles.
- Convenience and deliciousness in one treat!
Overview: How To Make Cake Pops?
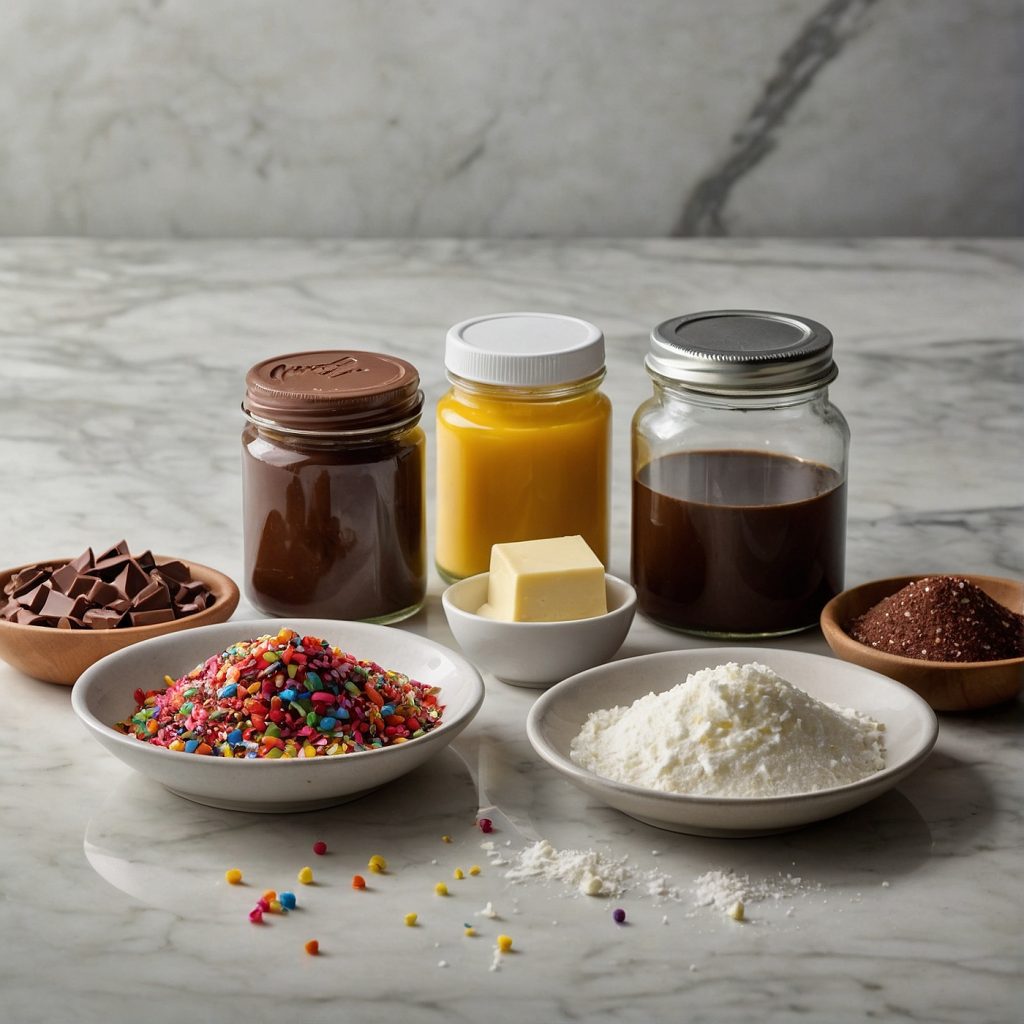
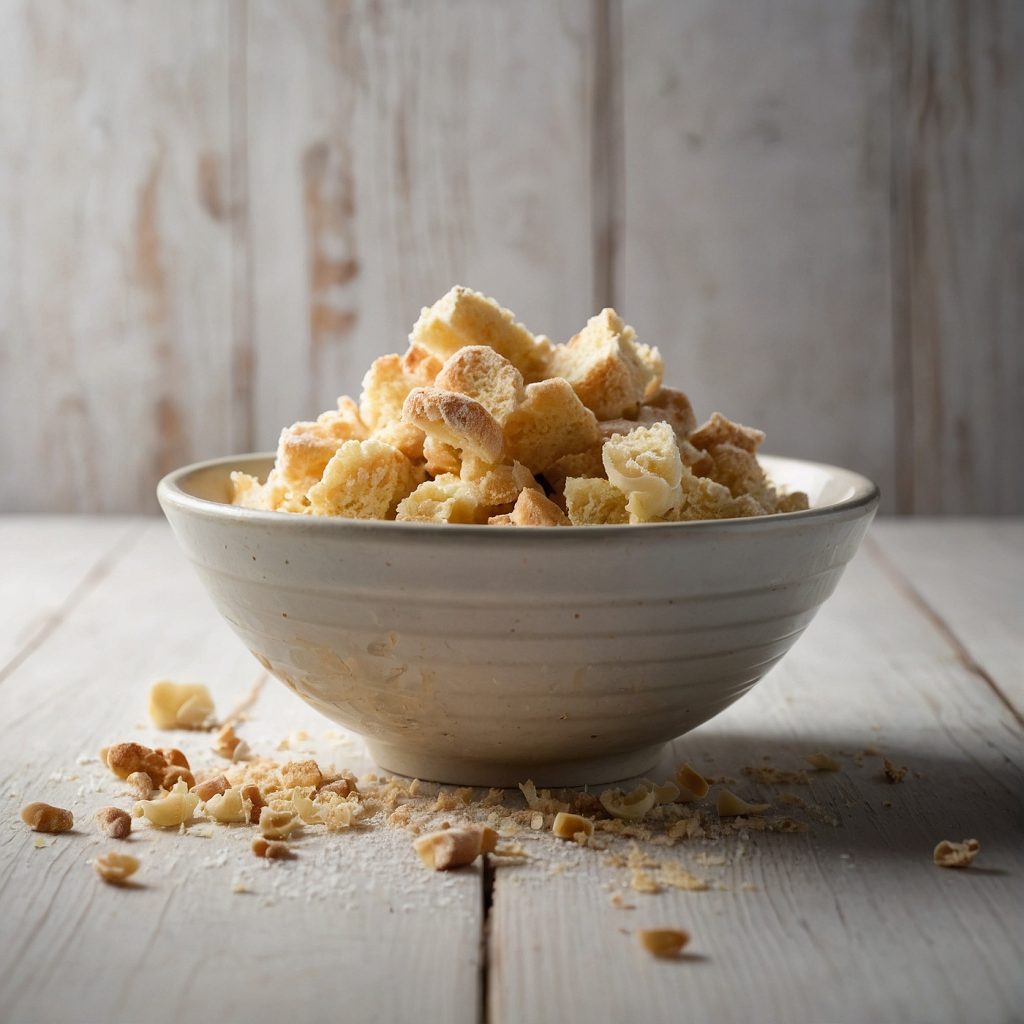
To make cake pops you will require either a cake mix or your personalized cake recipe, frosting, chocolate or candy melts, cake pop sticks, and embellishments, like sprinkles. Begin by baking the cake following the given directions and allowing it to cool. Next, crumble the cake into pieces in a bowl.
Prepare the frosting by blending butter, powdered sugar, vanilla extract, and milk until it reaches a consistency. Incorporate most of the frosting into the cake until it binds together. Shape the mixture into balls. Refrigerate them.
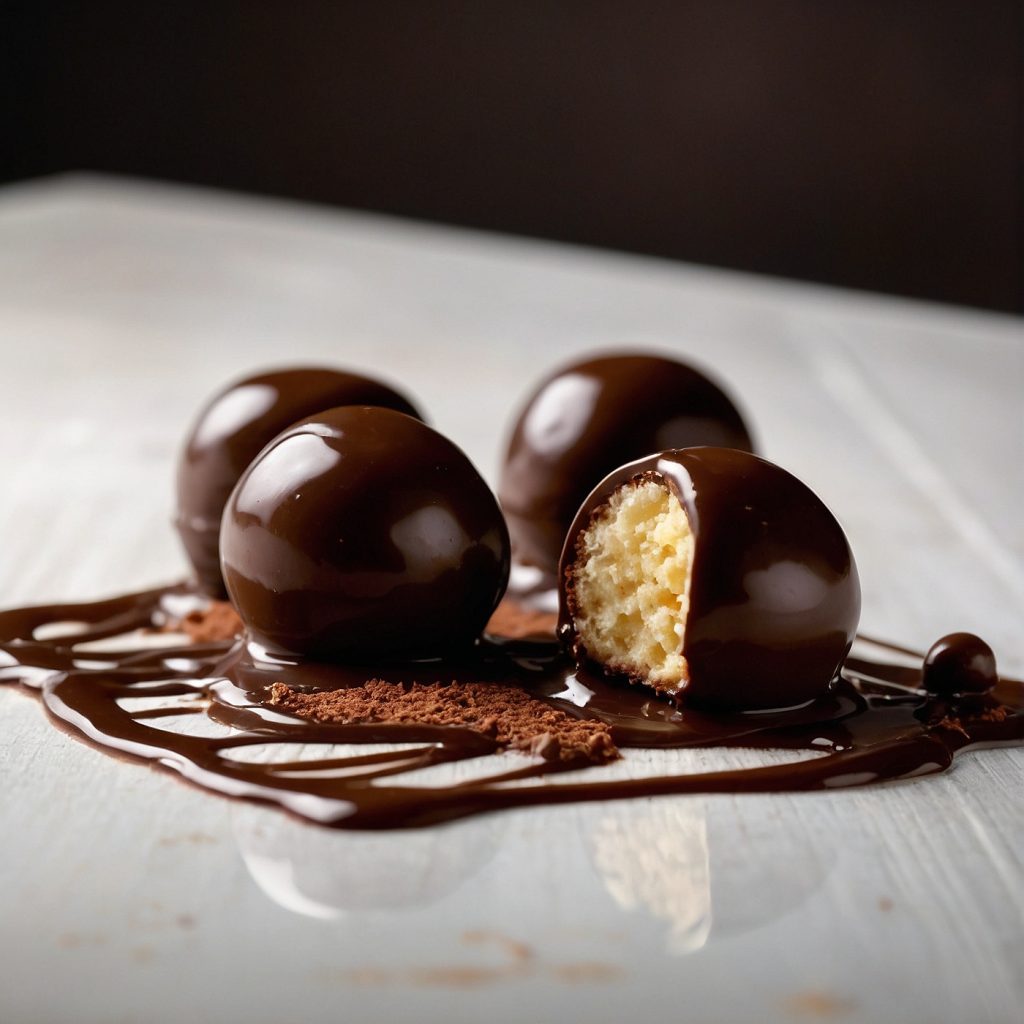
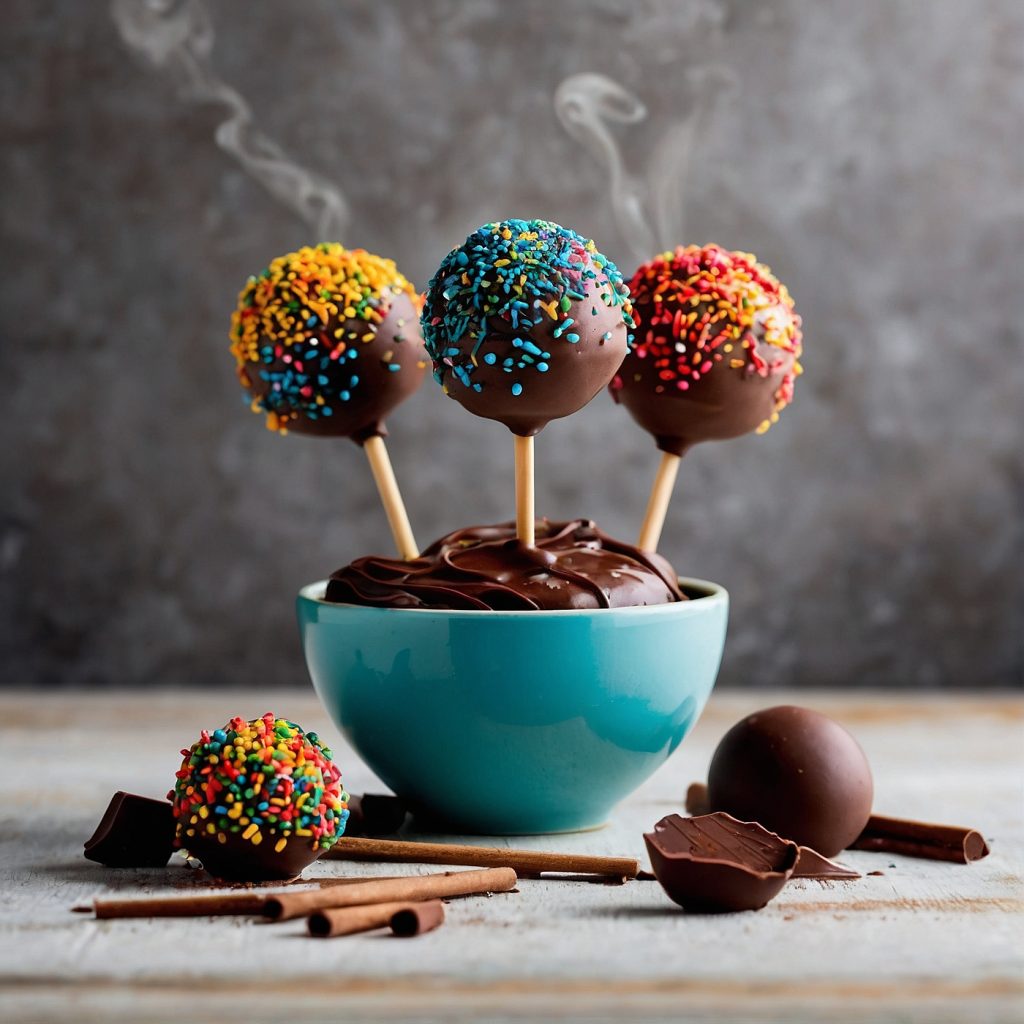
First, melt the chocolate. Dip the end of every cake pop stick, in it before inserting it into a cake ball. Next, dip each cake pop into the melted chocolate ensuring it is fully coated by swirling it around. If desired you can sprinkle some decorations on top. Allow the cake pops to stand upright until they are completely set.
Once they are firm they are ready to be savored! Be mindful of maintaining the consistency of the chocolate and monitoring the temperature of the cake balls throughout the process. Indulge, in your cake pops!
Cake Pops Recipe
Equipment
- Mixing Bowl: For mixing the cake crumbs and frosting.
- Electric Mixer or Hand Whisk: To beat the frosting until fluffy.
- Baking Pan: To bake the cake.
- Spoon or Spatula: For mixing the cake crumbs and frosting.
- Microwave or Double Boiler: For melting chocolate or candy melts.
- Cake Pop Sticks: For inserting into the cake balls.
- Styrofoam Block or Cup with Rice: To stand the cake pops upright while they set.
- 1 box Vanilla or white cake mix ( that’s enough for an 8-inch/20cm cake OR your preferred vanilla/white cake recipe.)
- ¼ cup (52g) unflavored vegetable oil (I like using canola oil, but any unflavored vegetable oil will work. Note: You only need this if you’re using a boxed cake mix.)
- Additional Ingredients as per the boxed cake mix instructions (typically butter or oil, eggs, and milk).
- ½ cup (113g) unsalted butter (at room temperature).
- 1 cup (120g) icing sugar or powdered sugar
- 1 tsp vanilla essence or extract
- 1 tsp Milk
- 3½ cups chocolate or candy melts {You can go with dark, milk, white chocolate, or mix it up with a combination. I enjoy using half dark and half white chocolate. (Note: You can find chocolate or candy melts in the baking aisle of most grocery stores.) 40 cake pop sticks These are what make your cake pops easy to hold and enjoy!}
- 1 pack sprinkles or any other decorations you like. (This is where you get to add your flair to your cake pops!)
Bake the cake as per instructions (add oil if using a boxed mix). Let cool.
Crumble the cooled cake into a bowl.
Make the frosting: beat butter, powdered sugar, vanilla, and milk until fluffy.

Mix 3/4 of the frosting into the cake crumbs. Add more if too dry.
Roll mixture into balls, freeze/chill to set.
Melt chocolate/candy melts in short bursts.
Dip sticks into melted chocolate and insert into cake balls.
Dip cake balls into melted chocolate, and coat evenly.
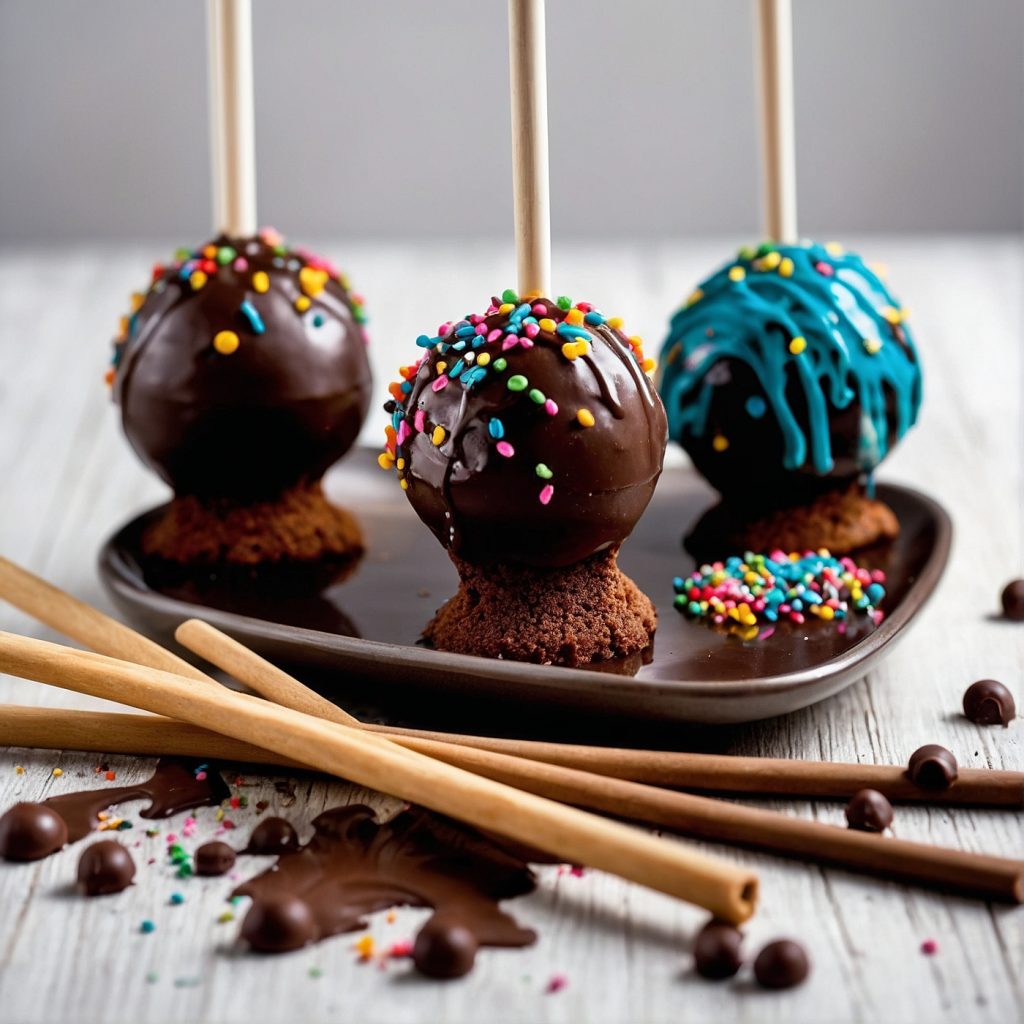
Add sprinkles or decorations while still wet.
Stand upright to set, using a styrofoam block or cup with rice.
Repeat with remaining cake balls, reheating chocolate as needed.
Let cake pops set completely before serving.
Video
Disclosure: That video isn’t mine – I included it to give you a visual of the whole cake pop-making process. Creating my own tutorial video is something I’d love to do down the road when I have a bigger budget.
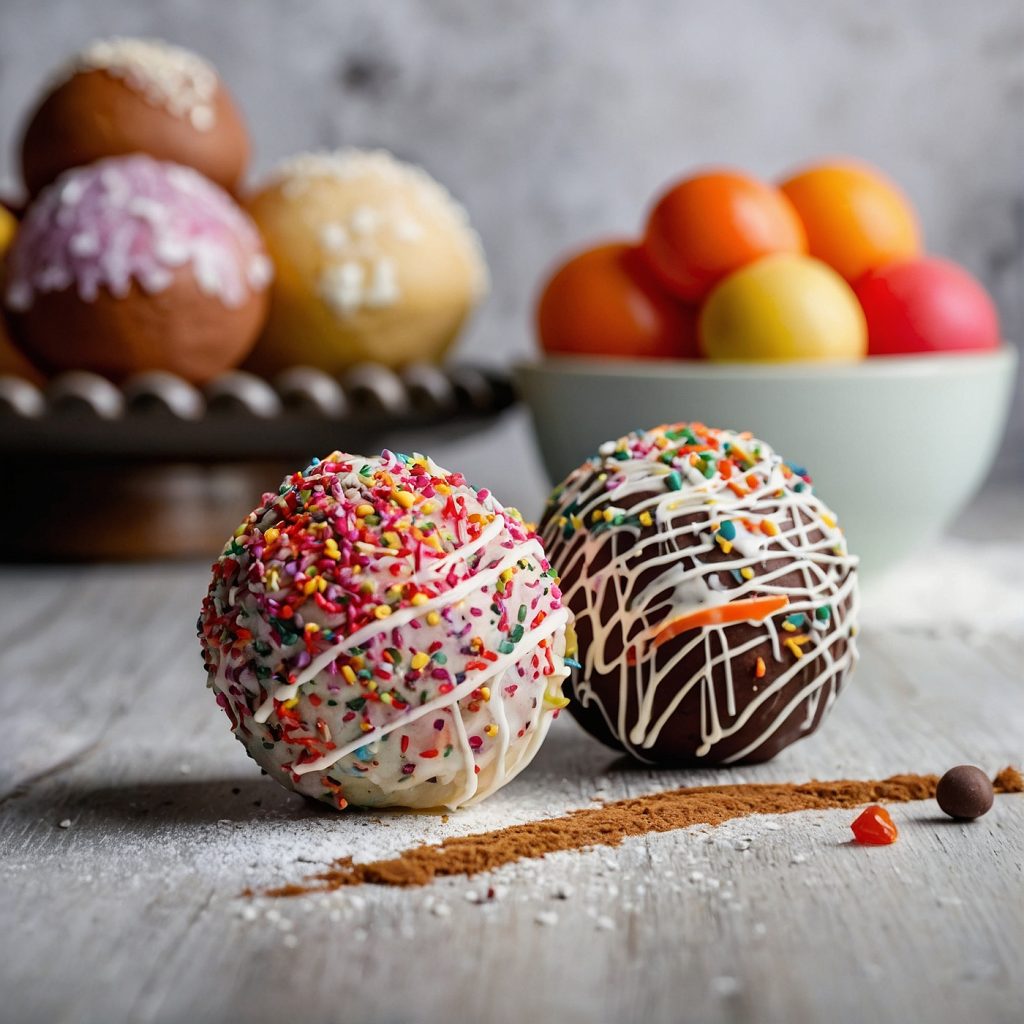
Decorating Cake Pops: Get Creative!
Cake pops are a blank canvas for your creativity. Sprinkle on some fun while the chocolate coating is still wet. Or let it harden first, then drizzle more chocolate on top. So many options!
Easy decorating ideas:
- Sprinkles or jimmies (classic!)
- Chocolate drizzle
- Crushed cookies (like Oreos)
- Colored candy melts
- Themed for holidays (Valentine’s, Easter, etc.)
- Dye the cake batter for a colorful surprise inside
- Arrange them into a bouquet as a gift
The possibilities are endless for dressing up these bite-sized treats. Have fun with different toppings, colors, and designs. Decorating cake pops is a chance to get imaginative and personal!
Recipe Notes
- If you’re using a boxed cake mix, I suggest skipping the frosting that comes with it. Trust me, homemade frosting is much tastier!
- When making cake pops, it’s crucial to use chocolate or candy melts. They set quickly and have a thinner consistency when melted, which is perfect for coating the cake pops. However, if you absolutely must use regular eating chocolate, I recommend thinning it out with some vegetable oil to achieve a similar consistency.
Pro Tips from the Dessert Lover Community
- Dry_Breadfruit_7113‘s advice for perfect cake pops is:
Use cake pop sticks instead of lollipop sticks because they’re thicker and sturdier. First, roll your cake mixture into balls and pop them in the freezer for a short while until they’re firm. Then, dip the tip of the stick into melted chocolate and insert it into the cake balls to prevent them from slipping down. Let them chill for a bit in the fridge to set, then coat the cake pops with chocolate. This method usually works well for Dry_Breadfruit_7113. - Swvagirl‘s advice for perfect cake pops:
Make sure you chill them in the freezer for as long as you can before dipping them. She learned from experience that if you don’t chill them enough, they can easily break off the stick when you dip them in the coating. - Pepperrescue‘s advice on preventing cake pops from having flat spots, similar to caramel apples:
First, find a box and make holes in it. When you dip your cake pop in chocolate, place it in one of the holes in the box. Another option is to use a big piece of styrofoam and follow the same steps. Boxes are usually easier to find than styrofoam. This way, your cake pops can dry evenly without getting flat spots. - Johnathan Law‘s tip for clean cake pop-making:
Baking is messy. Just wash your hands after making cake pops. Easy fix. - M_e_l_f’s advice for perfect cake pops are:
To start, use the frosting that you buy from the store to help hold the cake balls together. After shaping the cake mixture into balls, pop them into the freezer for about 10 to 15 minutes. This helps them firm up before you dip them in melted wafers. - Chirp16‘s tip for great cake pops:
Keep it simple! If you can’t get that pro-smooth look, try “naked” cake pops: dip the bottom, stick in the top, then drizzle on top. Delicious and cute, just like mine!
Frosting Flavors for Cake Pop Perfection
The frosting you use for cake pops is key to making them taste amazing. Pick a flavor that complements your cake – like vanilla or lemon buttercream for lemon pops, or cream cheese frosting for red velvet. It’s all about that perfect pairing!
Cream Cheese Frosting: Rich, tangy, and so creamy. This classic frosting is made for cake pops with a decadent cream cheese twist. Swoon-worthy on carrot or red velvet cake pops.
Old-Fashioned Chocolate Frosting: Nothing beats a fudgy, homemade chocolate frosting. This old-school recipe tastes like your grandma’s finest baking. Slather it on chocolate or yellow cake pops for nostalgic bliss.
The best part? Even if you use a boxed cake mix, homemade frostings make your cake pops taste totally from scratch and insanely good. No one will be the wiser!
Gifting Cake Pop Deliciousness
Homemade cake pops make such a fun and tasty gift for anyone, whether it’s for a birthday, holiday, or just because! You could just toss them in a ziplock or container, but why not get a little creative?
Personally, I love wrapping them up in pretty cellophane tied with a ribbon – it makes them look like little presents! Another cute idea is arranging the cake pops in a cookie tin lined with colorful shredded paper. Or for a real showstopper, try making a “bouquet” by sticking the pops in a flower pot!
No matter how you package them, homemade cake pops always go over well as a gift. They’re easy to make but look super impressive. Plus, who doesn’t love getting a tasty handheld treat?
Frequently Asked Questions About Cake Pops
What Can I Use Instead of Candy Melts?
If you don’t have candy melts, you can use melting wafers, such as Ghirardelli Vanilla, or melt good quality white or dark chocolate bars. If the melted chocolate is too thick, you can try adding 1 tablespoon of vegetable oil to thin it out.
Why Did My Cake Balls Fall Off Their Stick?
To prevent cake balls from falling off their sticks, make sure to dip the lollipop sticks in frosting before inserting them into the balls. This helps them stay securely in place as they harden. Also, ensure that you insert the sticks deep enough into the balls. Using sturdy lollipop sticks is important to support the weight of the cake balls.
Are These Freezer-Friendly?
Yes, both uncoated and coated cake balls can be frozen for up to 2 months. When you’re ready to enjoy them, let them thaw at room temperature for at least 30 minutes before eating.
Why Is the Candy Coating Cracking?
Cracking of the candy coating on cake pops often occurs due to significant temperature differences between the cake balls and the melted candy melts. If the cake balls are too cold and the candy coating is too hot, the coating will crack as it cools and contracts. To prevent this, ensure that the coating is not excessively hot when dipping the cake balls. Allow it to cool for a few minutes before dipping.
How Do I Store These?
If you’re preparing cake balls in advance, you can store undipped cake balls in the refrigerator for up to 2 days. Once dipped and decorated, store them in an airtight container in the refrigerator for up to a week.