I’ve received many requests on my instagram for an Oreo cake recipe, and I’ve been listening, I promise! It was tough deciding whether to make the cake itself a dark chocolate cake using black cocoa powder like Oreos, or incorporating actual Oreos into the batter.
After trying both versions, the clear winner was adding chopped Oreos to a fluffy white cake. But the real star is the Oreo frosting that tastes just like the real Oreo filling! The secret ingredient? A touch of clear vanilla extract.
Oreo filling is essentially American buttercream, but the clear vanilla gives it that distinct Oreo flavor. Who would’ve thought? It’s always satisfying when a recipe turns out well. I highly recommend giving it a try for yourself. You won’t be disappointed!
Why You’ll Love This Oreo Cake Recipe
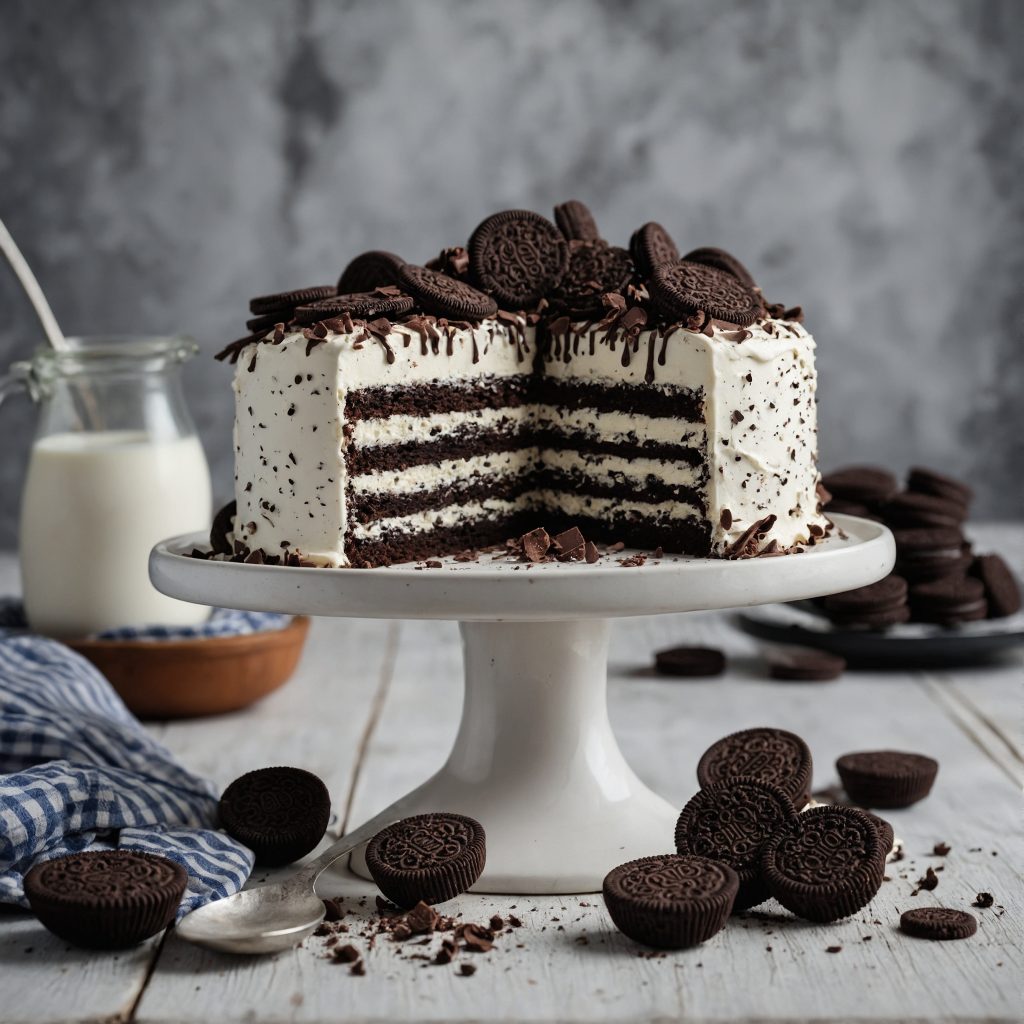
- Packed with Oreos: If you’re an Oreo fan, you’ll adore this cake. It incorporates a whole package of these irresistible sandwich cookies, ensuring every bite is bursting with Oreo goodness, both in the frosting and as a garnish.
- Incredibly Moist Cake: The cake layers themselves are incredibly moist, making them some of the best you’ll ever taste. Say goodbye to your quest for the perfect chocolate cake because this one is truly amazing.
- Simple Preparation: Unlike some complicated cake recipes that require fancy mixing methods, this one keeps it straightforward. Simply mix all the ingredients together right in the bowl—no need for excessive whipping, fluffing, or folding. It’s as easy as can be!
If you love rich and decadent tastes, you might enjoy trying our caramel cake recipe once you’ve become an expert at making this Oreo cake.
Overview: How To Make Oreo Cake Recipe?
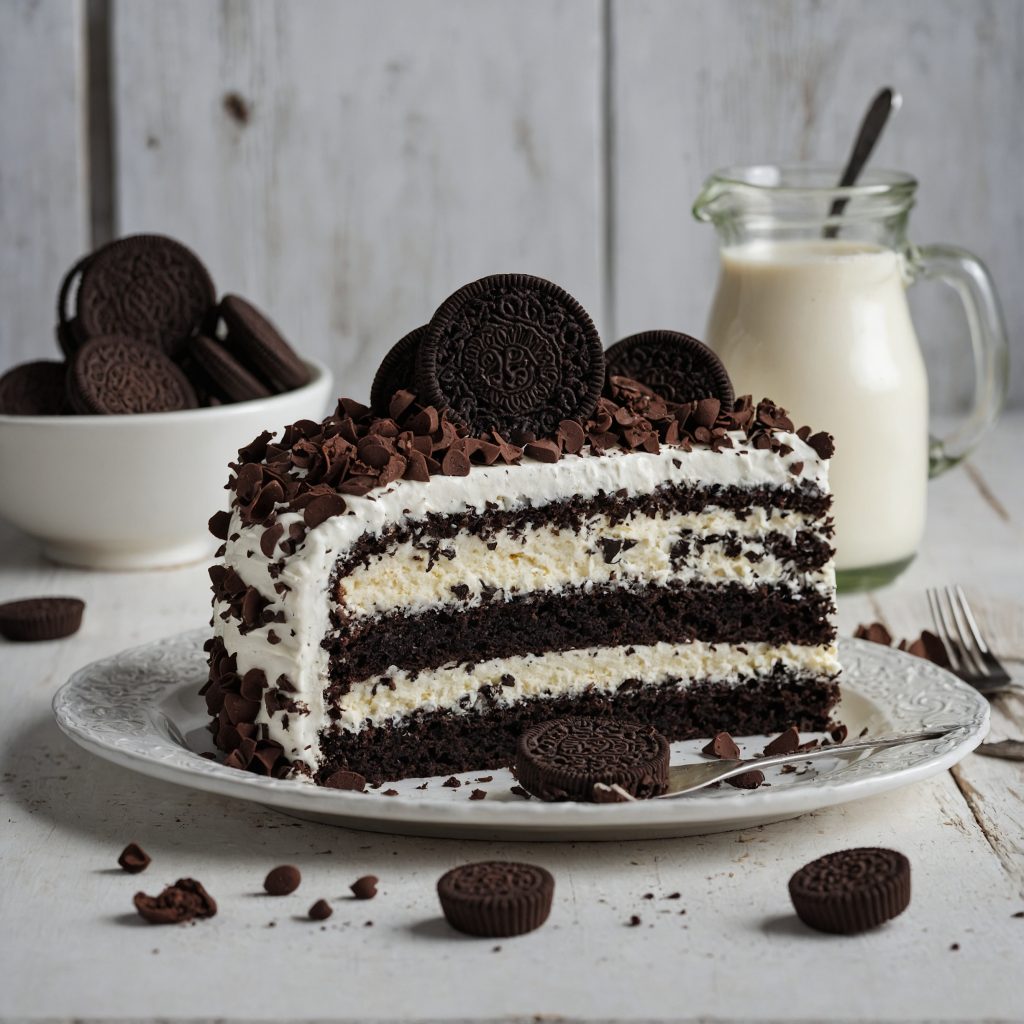
What’s great about this recipe is that it’s straightforward to make. You start with a basic vanilla cake base and mix in crushed Oreos. Then, while the cake layers bake, you whip up the Oreo frosting by combining buttercream with more crushed Oreos. The combination of chocolate, vanilla, and buttercream is simply heavenly.
Once everything is ready, you assemble the cake by spreading the frosting between the layers and on top. A sprinkle of crushed Oreos on the top adds a nice finishing touch. And if you’re not into fancy decorating, you can keep it simple by smoothing out the frosting with an offset spatula.
Overall, this Oreo cake is a delicious treat that’s perfect for any occasion. Whether you’re celebrating a birthday or just satisfying your sweet tooth cravings, this cake won’t disappoint. Give it a try—you’ll be glad you did!
Oreo Cake Recipe
Equipment
- Mixing bowls
- Electric mixer
- Cake pans (8 or 9 inches)
- Cake turntable (optional)
- Piping bag and tip (optional)
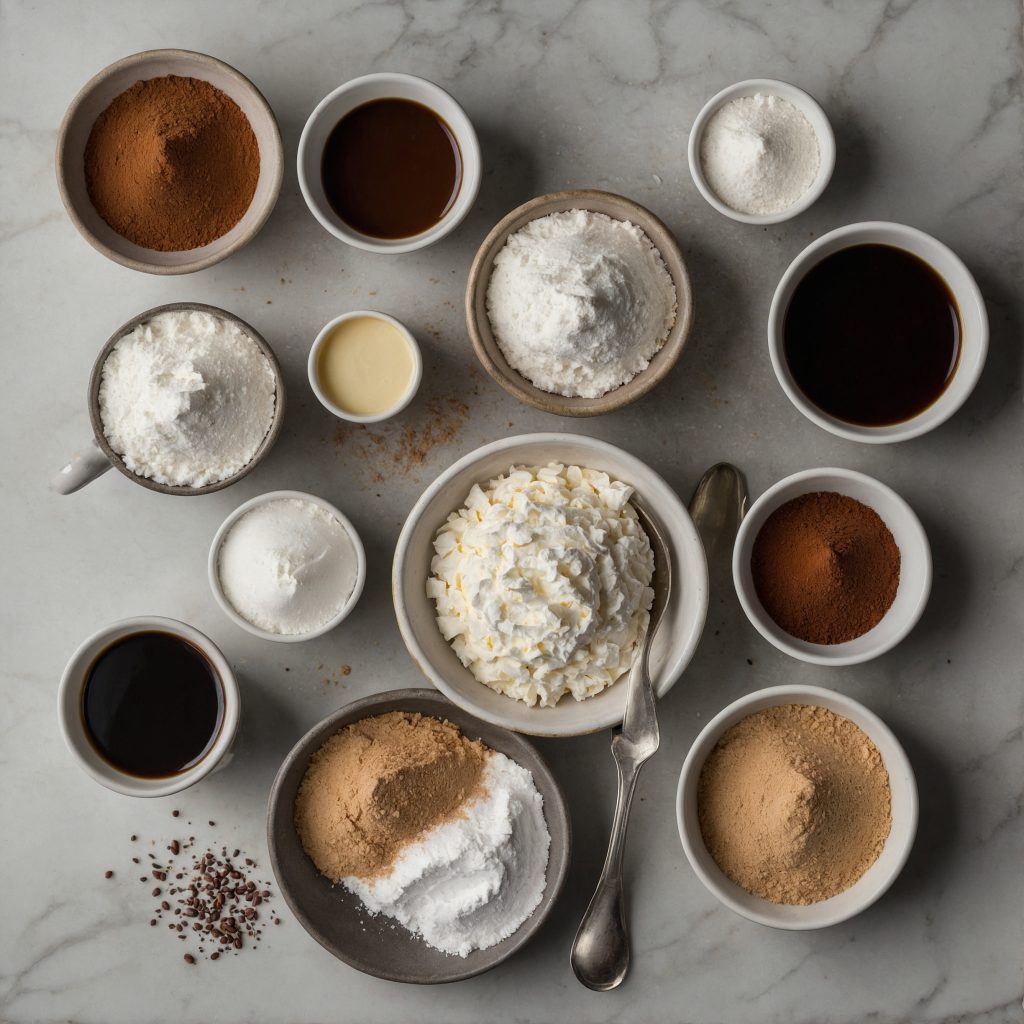
- 1 ½ cups (285g) granulated sugar
- ½ cup (118 ml) vegetable oil
- 3 large eggs, at room temperature
- 1 tablespoon (15 ml) pure vanilla extract
- ½ cup (120g) sour cream, at room temperature
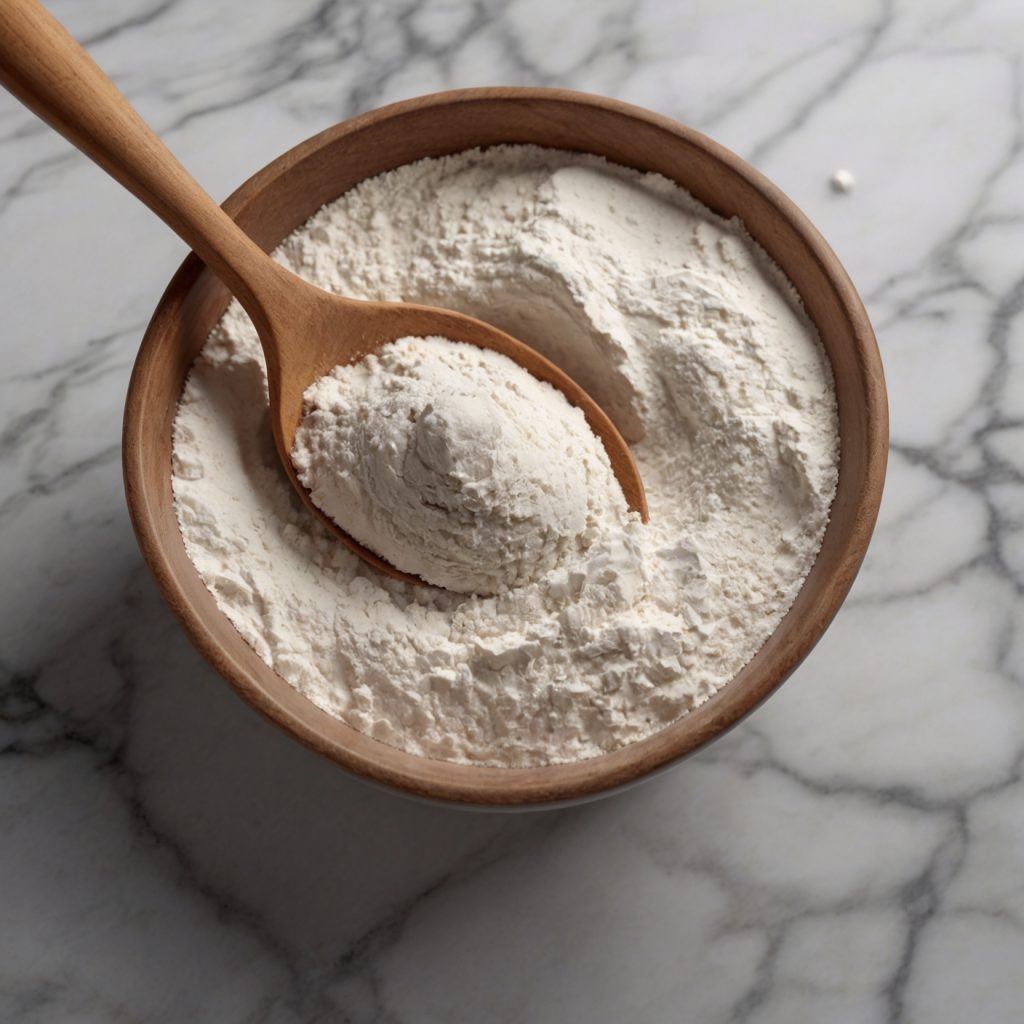
- 2 cups (280g) all-purpose flour, sifted
- ½ cup (40 g) cocoa powder, sifted
- 1 tablespoon (5g) espresso powder (optional)
- 2 ½ teaspoons (9 g) baking powder
- ½ teaspoon (2 g) baking soda
- 1 teaspoon (5 g) salt
- 1 ¼ cup (296 ml) hot brewed coffee
- 24 Oreos
- 1/4 cup (59mL) heavy whipping cream
- 1 cup (227g) unsalted butter, at room temperature
- 1/16 tsp salt
- 3 cups (360g) powdered sugar, spooned and leveled
- 2 tsp vanilla extract
Instructions
Let’s get started on this delicious Oreo cake recipe! First, make sure all your ingredients are at room temperature. Then, preheat your oven to 350°F/177°C if using convection (or 325°F/163°C for conventional ovens), and grease and line three 6-inch cake pans.
In a medium bowl, whisk together the flour, baking powder, and salt until they’re evenly distributed.
Now, in a large bowl, combine the room temperature butter, oil, and granulated sugar. Use a stand mixer with the whisk attachment to beat them for about 2 minutes until creamy and well combined.

Add the eggs, one at a time, beating on medium speed until each egg is fully incorporated. Then, add the sour cream and vanilla extract, and beat just until combined.
Next, add half of the dry ingredients to the wet ingredients. Turn the mixer to low speed and pour in the milk, followed by the rest of the dry ingredients. Mix until everything is well combined.
Fold in the Oreo chunks (leaving out the tiny crumbs) and distribute the batter evenly among the three prepared cake pans, using about 14 ounces of batter in each pan. Bake for 30-35 minutes, or until the cakes are fully baked. You’ll know they’re done when they release from the edges of the pans and spring back when lightly pressed in the center.
Once baked, invert the cake layers onto a cooling rack and allow them to cool completely before frosting. Now you’re ready to assemble and enjoy your delicious Oreo cake!
Start by splitting 6 Oreos in half and placing them in the heavy whipping cream. Let them soak while you prepare the rest of the frosting.
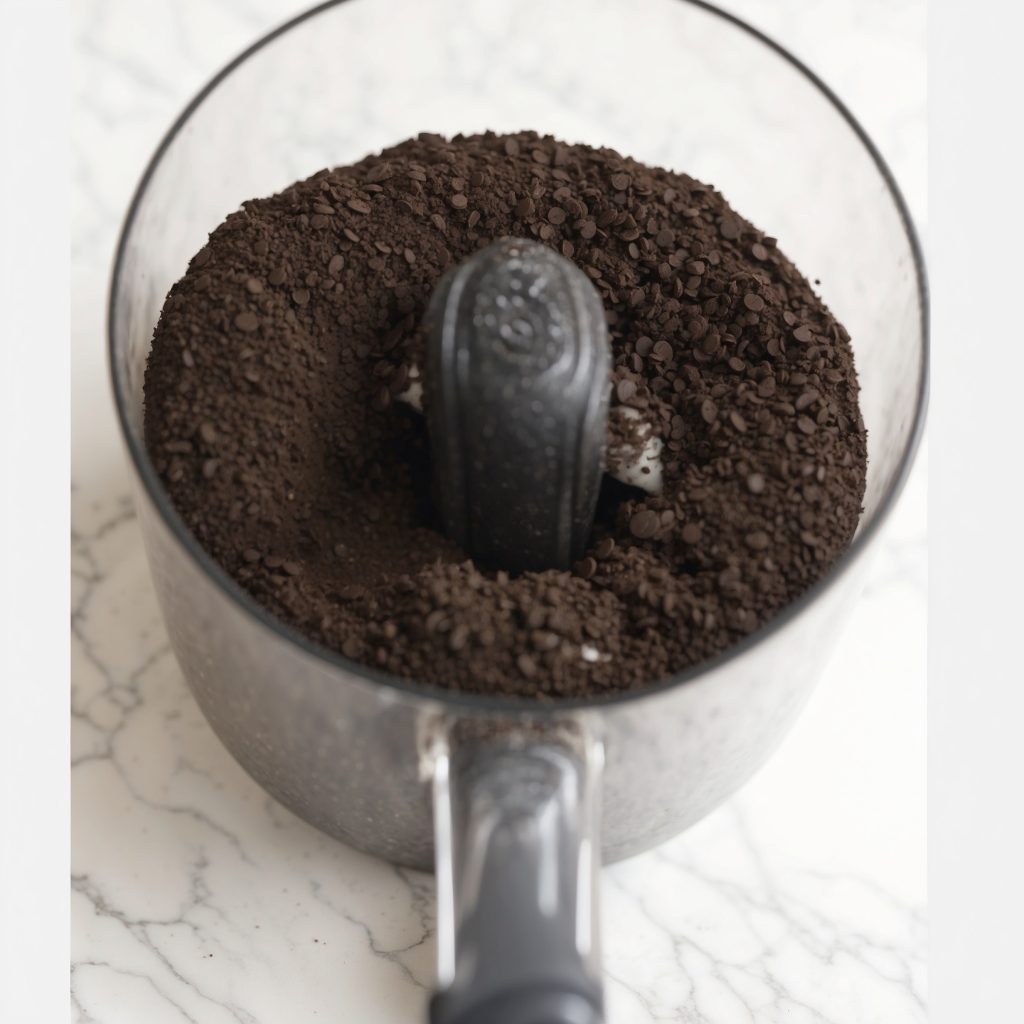
Take the remaining Oreos and place them in a food processor. Pulse until they’re finely ground.

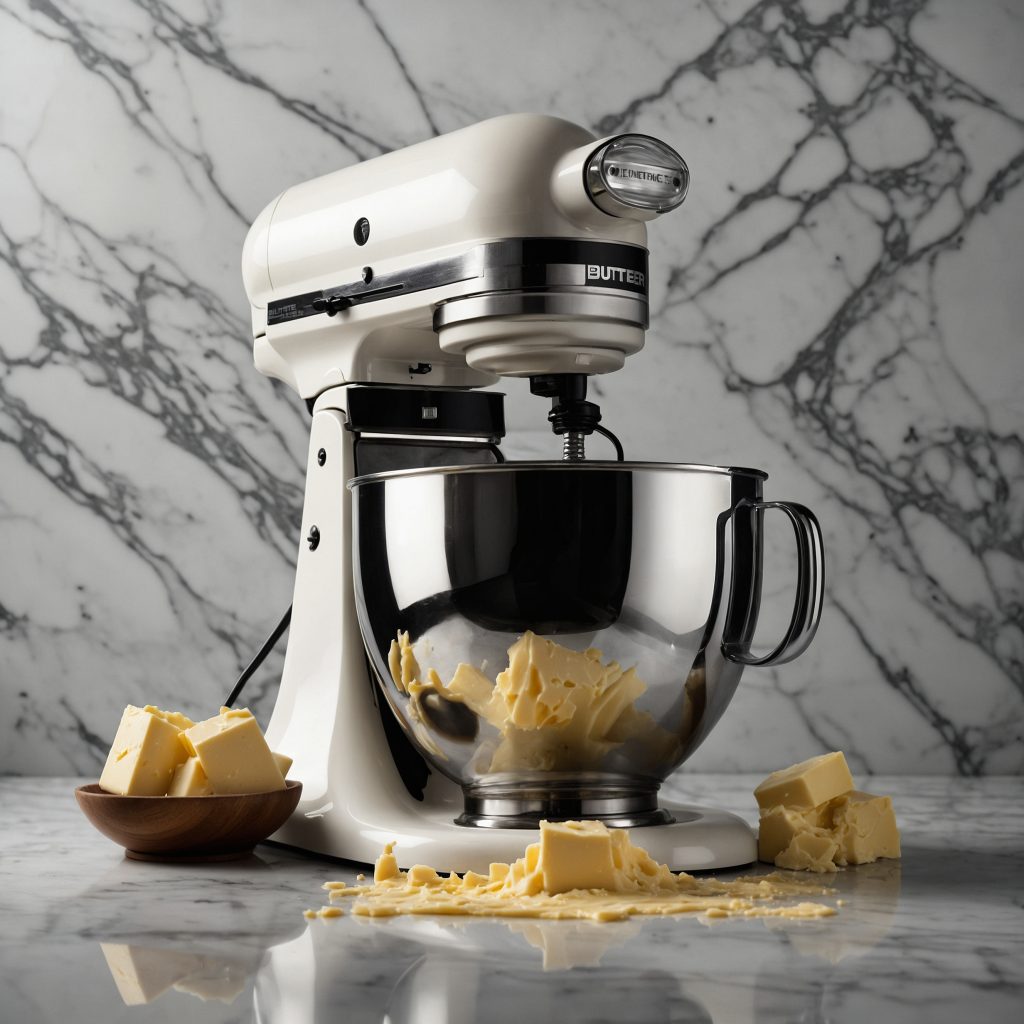
Now, in the bowl of an electric mixer, add the room temperature butter.
Use the paddle attachment and beat the butter on medium-high speed for 1-2 minutes, until it turns a pale yellow color. Add the salt and powdered sugar to the butter and mix on low speed until just combined.
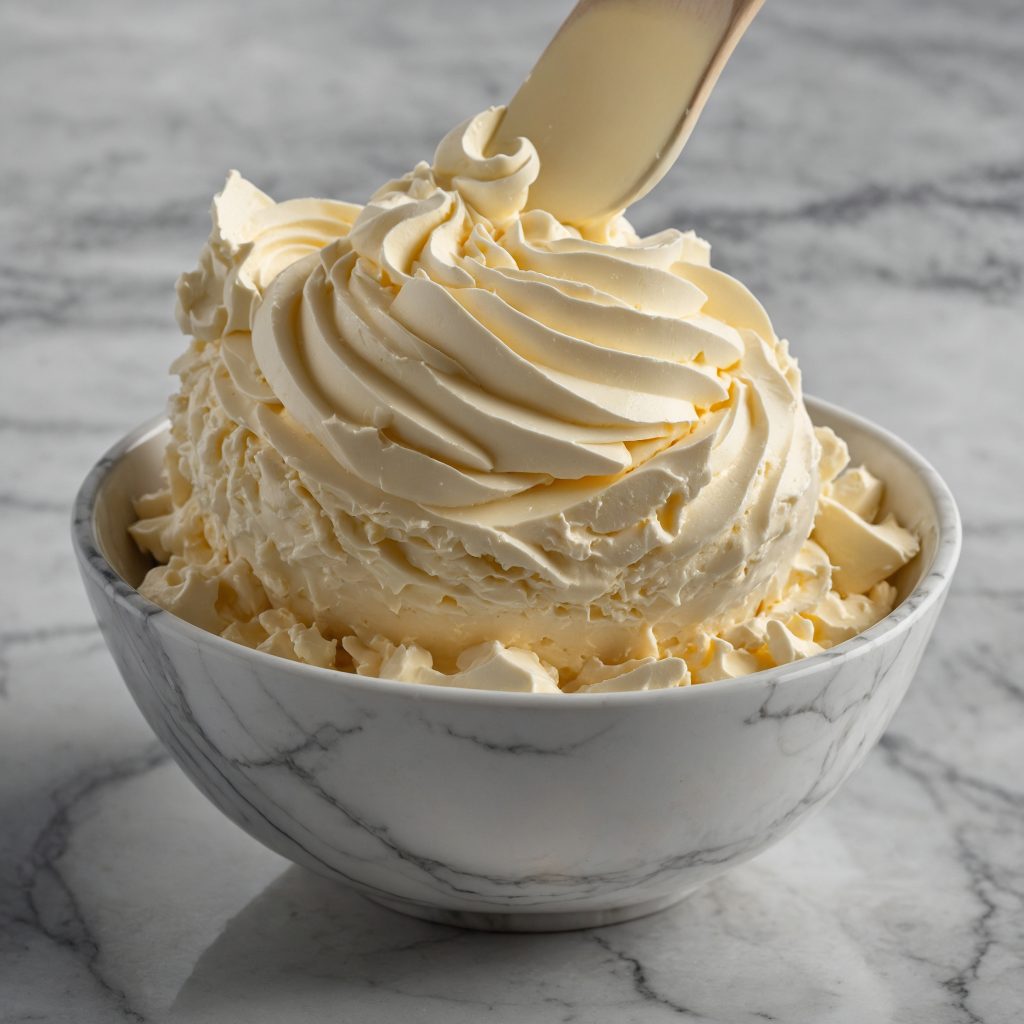
Then, turn the mixer to medium-high speed and beat the buttercream for at least five minutes. This will ensure all the sugar is fully dissolved and the buttercream no longer feels gritty. Remember to scrape down the bottom and sides of the bowl every couple of minutes.
Once the buttercream is smooth and creamy, add the ground Oreos and beat until they’re fully combined.
Once baked, invert the cake layers onto a cooling rack and allow them to cool completely before frosting. Now you’re ready to assemble and enjoy your delicious Oreo cake!
Beat the mixture for another 2 minutes on medium-high speed, until everything is well incorporated and the frosting is light and fluffy.
- Start by placing the first layer of cake on a flat surface. Spread about 1/4 of the Oreo buttercream evenly on top of the cake layer.
- Next, arrange a layer of the soaked Oreos on top of the frosting. Once they’re in place, cover them with a little bit more frosting.
- Repeat this process with the second layer of cake, placing it on top of the first layer and adding frosting and soaked Oreos.
- Finally, place the third cake layer on top and refrigerate the cake for about 30 minutes. This helps everything set and hold together nicely.
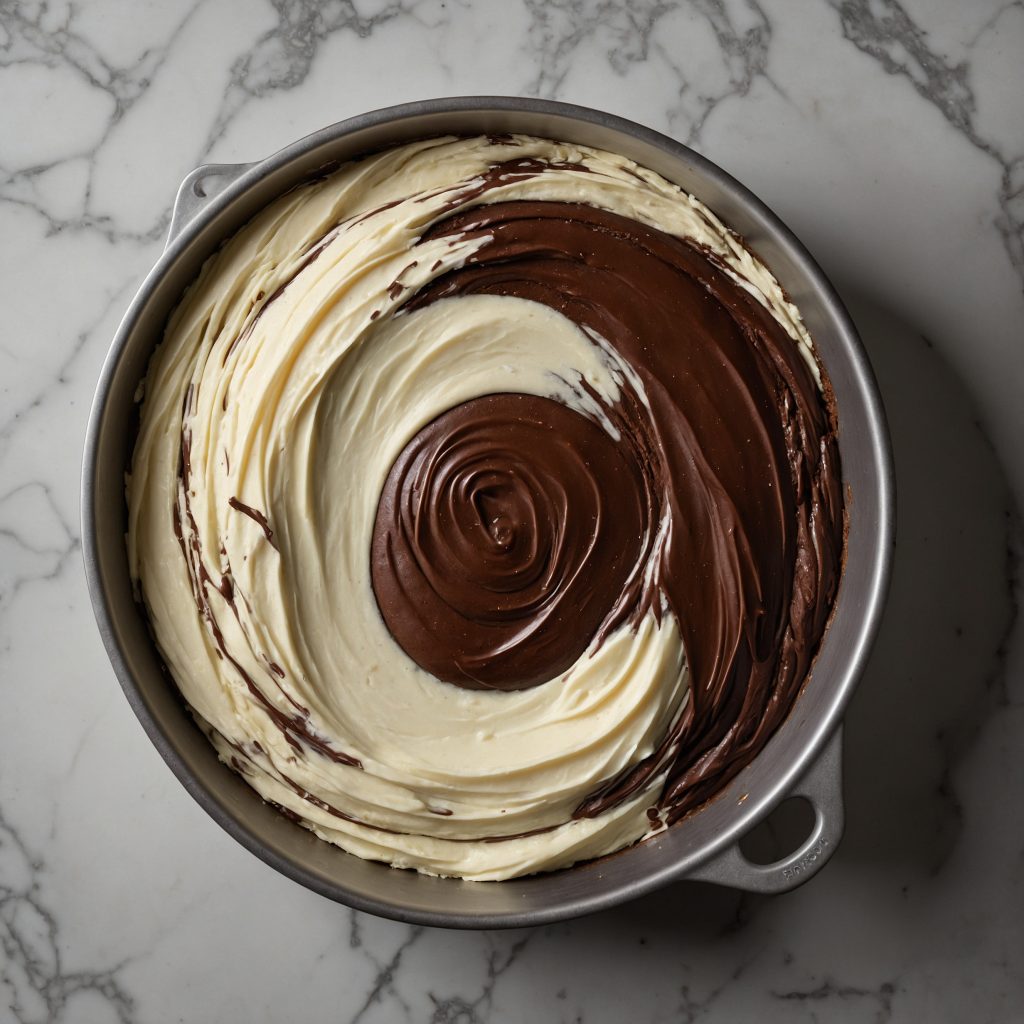
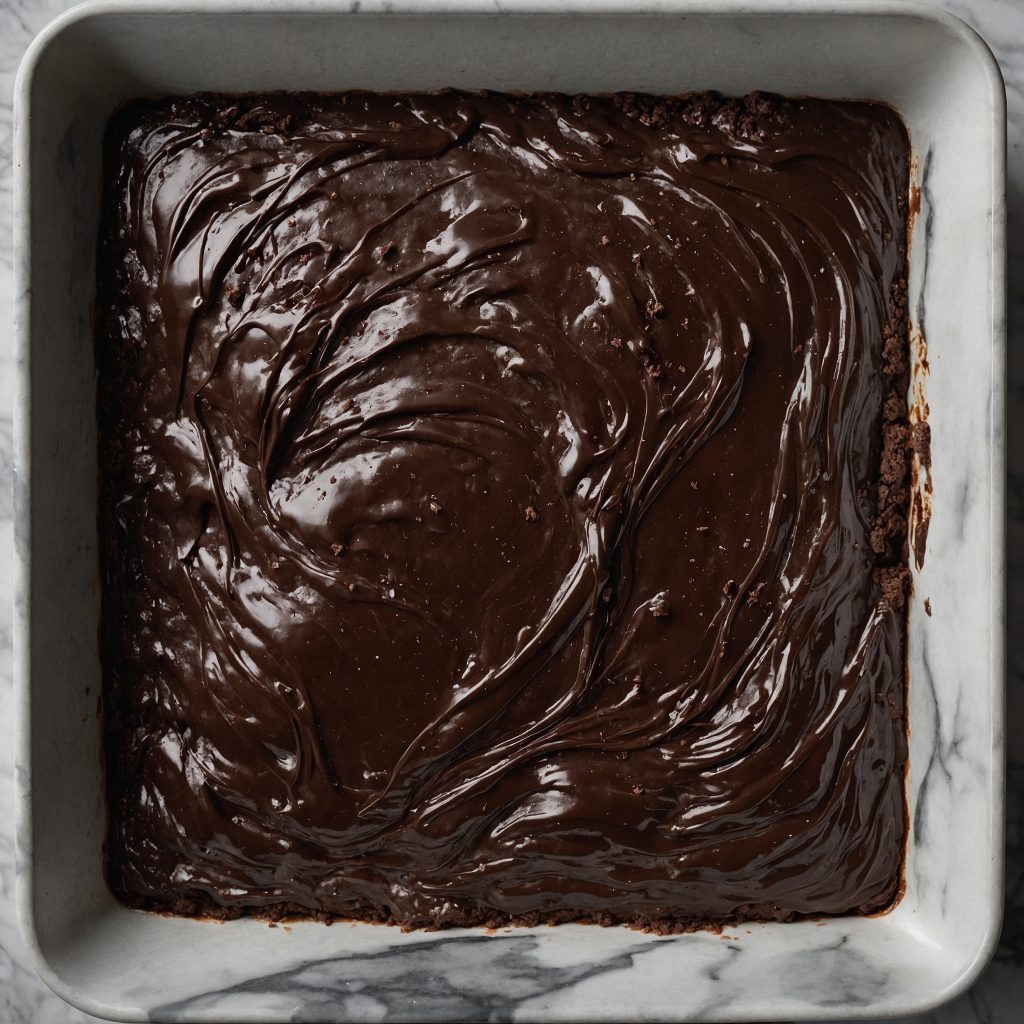
- Once chilled, place the remaining Oreo buttercream on top of the cake. Use an offset spatula to spread the frosting evenly over the top and down the sides of the cake.
- Then, use a cake scraper to smooth the frosting, allowing it to create an uneven ridge at the top for a rustic look.
- Fill the top of the cake with crushed Oreos, adding a delicious finishing touch.
- Refrigerate the cake for another 30 minutes to allow the frosting to set before slicing and serving.
Video
Disclosure: That video isn’t mine – I included it to give you a visual of the whole oreo cake-making process. Creating my own tutorial video is something I’d love to do down the road when I have a bigger budget.
How to Decorate an Oreo Cake
If you’re not a fan of piping bags or tips, keeping things simple is the way to go. Here’s a straightforward approach: Once you’ve got all the frosting on top of the cake, use an offset spatula to smooth it out.
Place the cake on a turntable and give it a spin while gently scraping the sides with a cake scraper. Instead of fussing over the top, leave it with a rustic ridge and sprinkle some Oreo cookie crumbs on it.
Here are some other fun ideas you can try:
- Add a drip of dark or white chocolate for extra flair.
- Arrange the Oreo crumbs in a crescent moon shape on top.
- Alternate piping frosting poofs with whole Oreos for decoration.
- Use a unique cake scraper to create a fun design on the sides.
- Sprinkle some crushed Oreos on the bottom of the cake for an added touch.
For those who prefer something lighter, my vanilla cake recipe is a perfect choice. It’s fluffy, moist, and pairs wonderfully with any frosting!
Pro Tips For Oreo Cake Recipe
- You can use plain unsweetened cocoa, but keep in mind the cake won’t have that rich, dark color without it.
- If you prefer to skip the coffee, just add more hot water instead. Hot water is crucial because it helps the chocolate bloom, bringing out its full flavor.
- If you’re thinking of icing the entire cake, just double up on the frosting recipe. Cream cheese icing could also be a delicious option!
- This cake freezes beautifully and can be prepared up to two days ahead. Simply pop it in the refrigerator, carefully wrapped in plastic or stored in an airtight container. When you’re ready to indulge, it’ll be waiting for you!
Tips From Some Home Bakers For Oreo Cake Recipe
Consider chilling the buttercream bag in the fridge or freezer to firm it up before piping. Adjusting the liquid content of your buttercream can also increase its stability. To ensure uniform swirl placement, pre-plan by making little marks with a toothpick or similar tool. This preparation ensures a beautifully decorated cake with perfectly placed swirls.
Heavy cream can be costly, so omitting it from your buttercream is understandable. The heat in your area likely contributed to the melting issue. While American buttercream can be overly sweet, German buttercream melts quickly. Consider experimenting with alternative buttercream recipes like Swiss or Italian, which offer a balance of flavor and stability in hot climates.
Reducing the sugar in cake batter by around 30% typically doesn’t affect the outcome. Considering the white chocolate content, you might even omit sugar entirely from the cream. This adjustment maintains sweetness while complementing the richness of the white chocolate.
Frequently Asked Questions (FAQs)
Why Is My Cake Dry?
To ensure a light and moist cake, it’s crucial to avoid over-mixing, over-baking (even by a minute or two), and over-measuring your flour. These practices can lead to a dense, dry, or even cornbread-like texture. It’s important to be mindful of these factors to achieve the desired outcome.
How Do I Keep My Cake Bright White?
For optimal results, use clear vanilla extract and break your crumbs by hand, ensuring to shake out any fine crumbs. Crushing your Oreos too small or using an excessive amount of finely crushed crumbs can result in a cake that appears dirty or grey. Therefore, it’s important to maintain the appropriate texture and quantity of crumbs for a visually appealing outcome.
Can I Turn This Oreo Cake Into Cupcakes?
If you’re considering making cupcakes with this cake recipe, it’s worth noting that my previous attempt didn’t yield the desired results. For a cupcake version, I suggest using my vanilla cupcake recipe and folding in 5-6 chopped Oreos into the batter. Follow the recommended bake time of the cupcake recipe, adjusting it by 1-2 minutes if necessary. This approach should help achieve better results in cupcake form.